Grist’s interface is packed with powerful features, but one particularly useful tool that flies under the radar is the Action Button widget. Despite the lack of official documentation, this widget allows you to define complex workflows—like inserting, updating, or deleting records—triggered by a single button click.
This is useful for automating repetitive operations without needing webhooks or external integrations.
🧠 What Is the Action Button?
The Action Button widget displays a clickable button in your table. When clicked, it executes one or more actions—such as adding, updating, or removing records—based on logic you define in a separate column.
🏗️ Anatomy of the Action Button
To use the Action Button, create a formula column that returns a dictionary with three keys:
{
  "description": "Text explaining what the button does",
  "button": "Label shown on the button",
  "actions": [/* list of actions */]
}
⚠️ Important:
- Set the Column Type to
Any—this is required for the JSON-like object to work. - The column must be visible while editing the formula, but it can be hidden afterward.
- In the Action Button widget settings, set Access Level to Full document access. Without this, the button won’t be able to make changes.
⚙️ Supported Actions
Each entry in the "actions" array is itself a list. Here are the most common types:
➕ AddRecord
Adds a new row to the specified table.
["AddRecord", "TableId", None, { "ColName": value, ... }]
✏️ UpdateRecord
Updates a specific row by ID.
["UpdateRecord", "TableId", rowId, { "ColName": newValue }]
❌ RemoveRecord
Deletes a row from the table.
["RemoveRecord", "TableId", rowId]
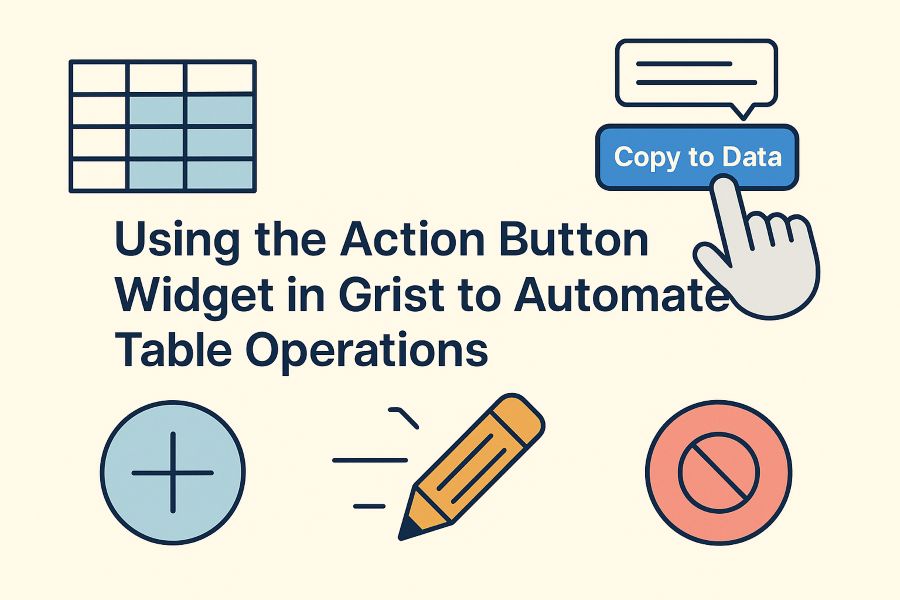
✅ Example 1: Copy and Increment
This example:
- Adds a new row to a table named
"Data"with values from the current row. - Increments a number field in the current table.
{
  "button": "Copy to Data",
  "description": "Copy " + $Name + " to Data Table",
  "actions": [
    [
      "AddRecord",
      "Data",
      None,
      {
        "Title": $Name,
        "Body": $Description,
        "Number": $Number,
        "Table1Data": $id
      }
    ],
    [
      "UpdateRecord",
      "Table1",
      $id,
      {
        "Number": $Number + 1
      }
    ]
  ]
}
🗑️ Example 2: Delete the Current Record
This example deletes the current row from a table named "Logs":
{
  "button": "Delete",
  "description": "Remove this log entry",
  "actions": [
    ["RemoveRecord", "Logs", $id]
  ]
}
Use with caution—there’s no confirmation prompt.
🛠️ How to Set It Up (Step-by-Step)
-
Add a formula column to the table you want to work with.
-
Set the Column Type to
Any—this is required for the JSON-style dictionary to work. -
Write a formula that returns an object with
button,description, andactionskeys. -
Save the column.
-
Add an Action Button widget to your page:
-
Under SELECT BY, choose the same table where you created the formula column.
-
In the widget’s settings:
- Set Access Level to Full document access.
- Select your formula column from the Action dropdown.
-
Once set up, a button will appear for each row. Clicking it will trigger the actions you’ve defined—whether it’s to add, update, or delete records.
📝 Tips and Considerations
- You can chain multiple actions into one button.
- Use
$variables (e.g.$id,$Name) to reference values from the current row. - Set the column type to
Any. - The column must be visible when writing the formula but can be hidden after that.
- In the widget settings, set Access Level to “Full document access” to allow full CRUD actions.
🚧 Limitations
- No official documentation as of writing.
- No error handling or confirmation dialogs.
- Only works within the current document (not cross-document).
Despite being unofficial and hidden in plain sight, the Action Button widget in Grist is a powerful tool for building automations directly into your tables. Whether you’re copying rows, updating values, or deleting obsolete entries, this widget can take your workflows from manual to magical with just one click.
Let your tables take action—literally.